Start here · Trays · 16 entries
Tray setups
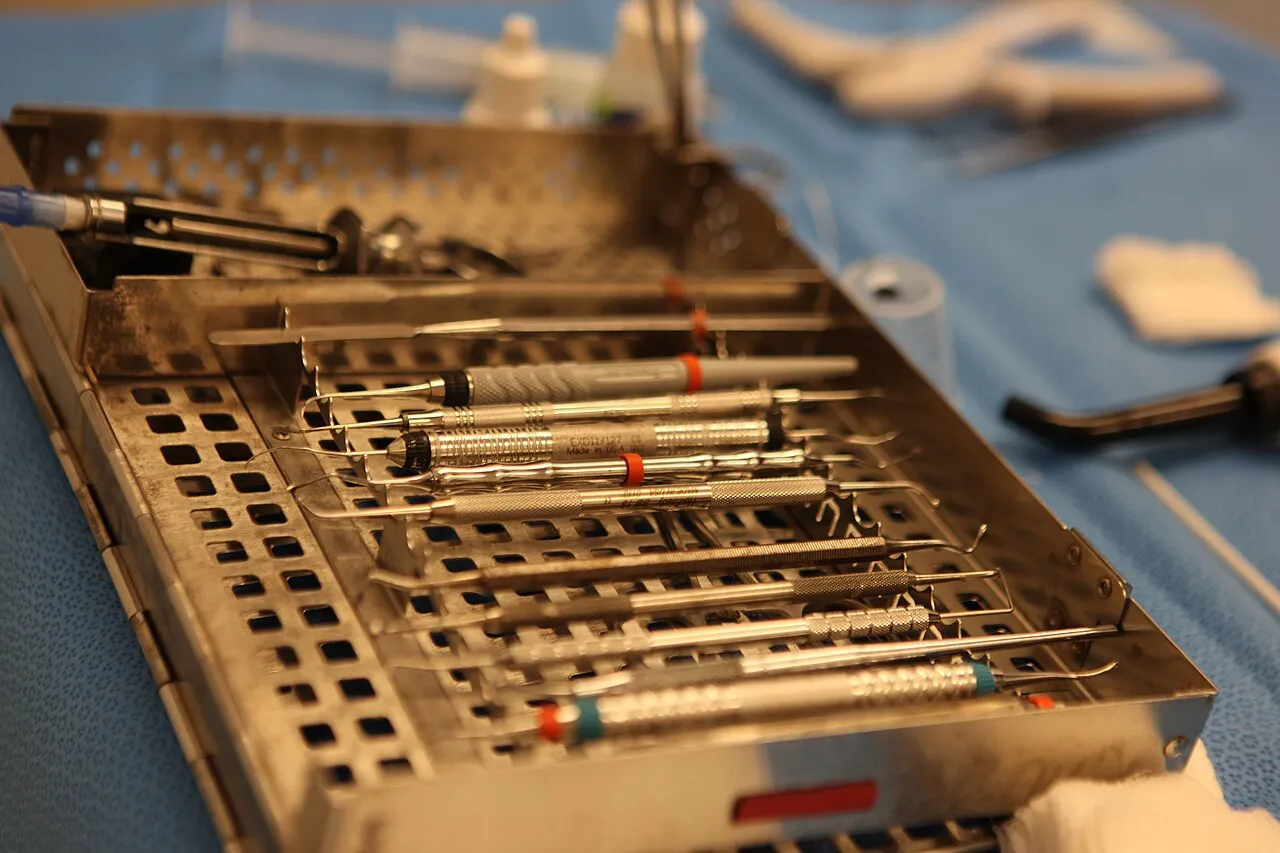
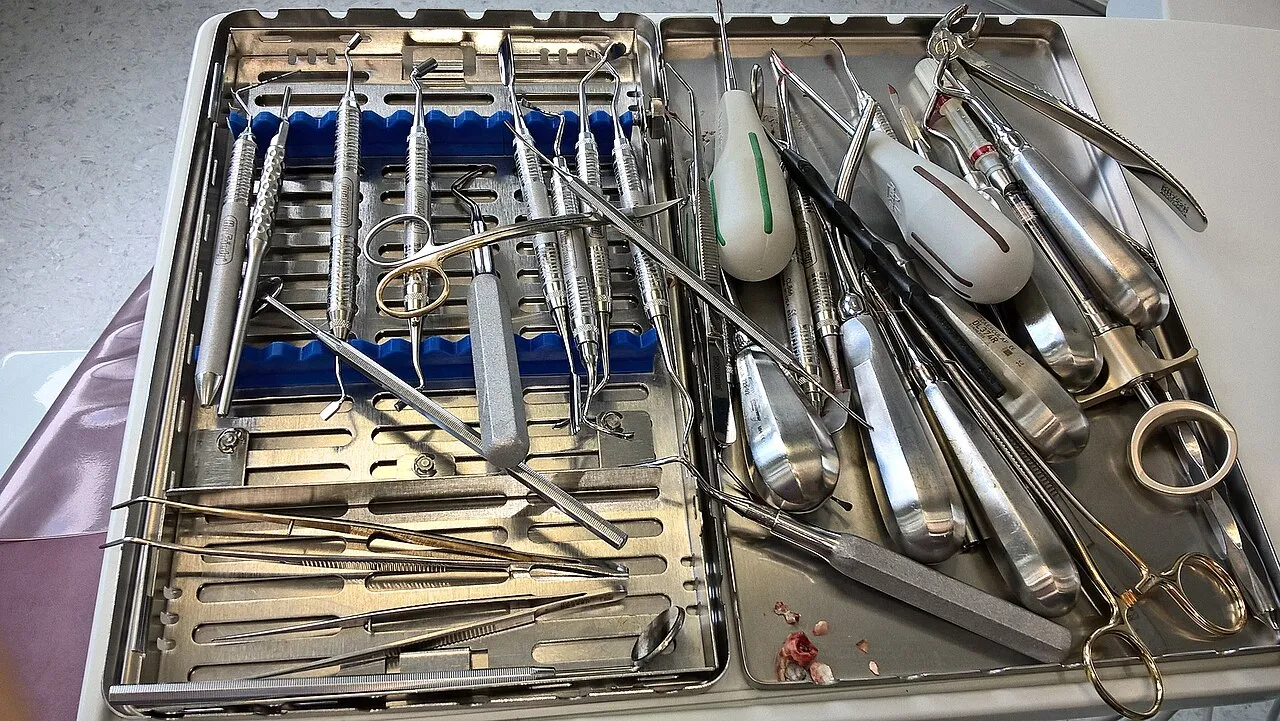
A well-set tray lets the whole visit run smoothly. Instruments go on the tray from left to right in the order they will be used, so you can always find the next one and put each back in its place. Below are common setups for the procedures you will see most, with the instruments listed in that order.
Every office has its own tray cards, and dentists have their own preferences, so treat these as starting points and follow your office's lists. The last two sections cover passing instruments and the four-handed "clock" zones that keep you, the operator and the patient safe and comfortable.
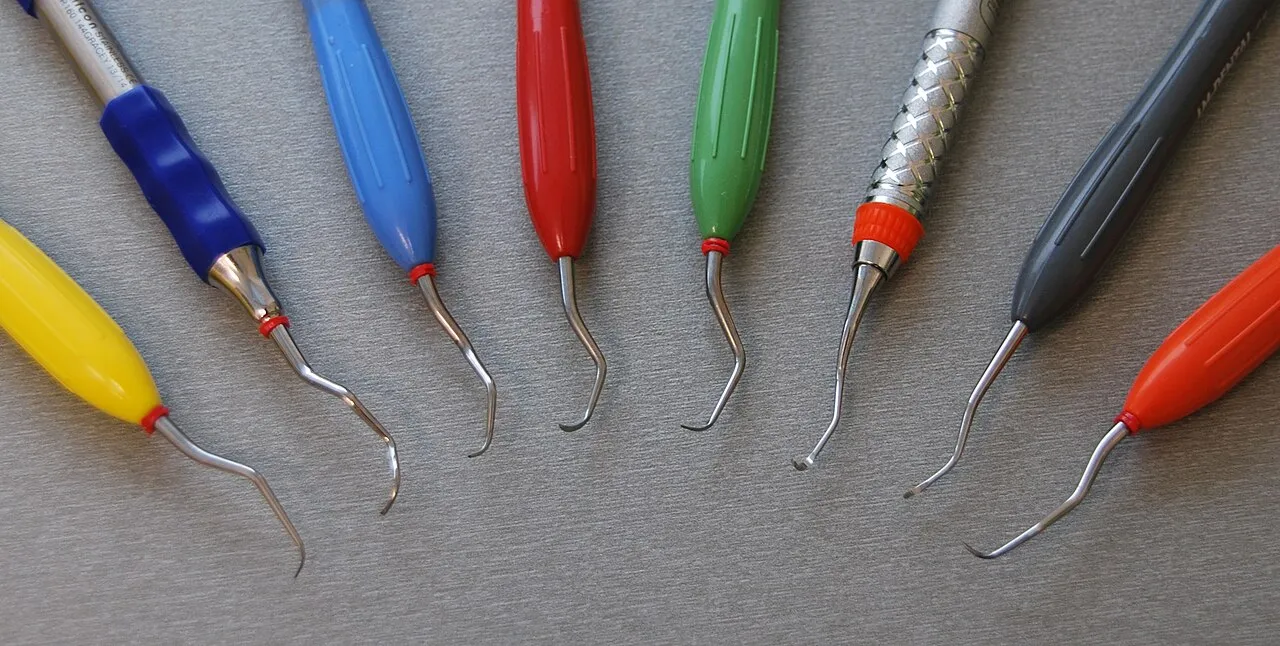
Hygiene trays
Check-ups, cleanings, deep cleanings and sealants.
Restorative trays
Tooth-colored fillings, silver fillings and crown preps with temporaries.
-
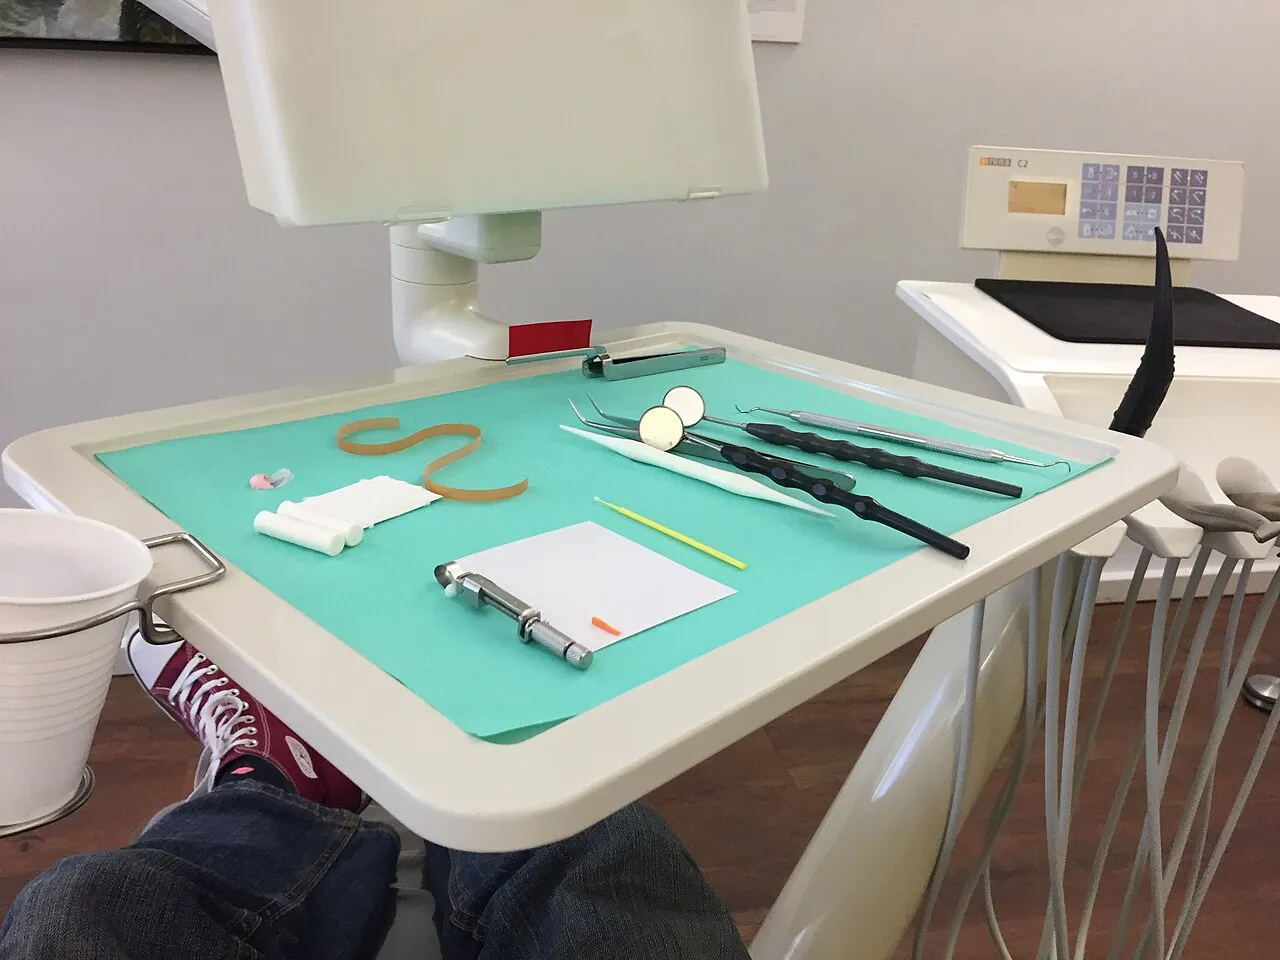 Composite (tooth-colored filling) tray
Setup for a tooth-colored filling: prep, bond, place in layers, cure and polish.
Composite (tooth-colored filling) tray
Setup for a tooth-colored filling: prep, bond, place in layers, cure and polish.
- Amalgam (silver filling) tray Setup for a silver filling: prep, matrix, carry, condense, carve, burnish, check bite.
- Crown prep and temporary crown tray Setup for preparing a tooth for a crown, taking the impression and making a temporary.
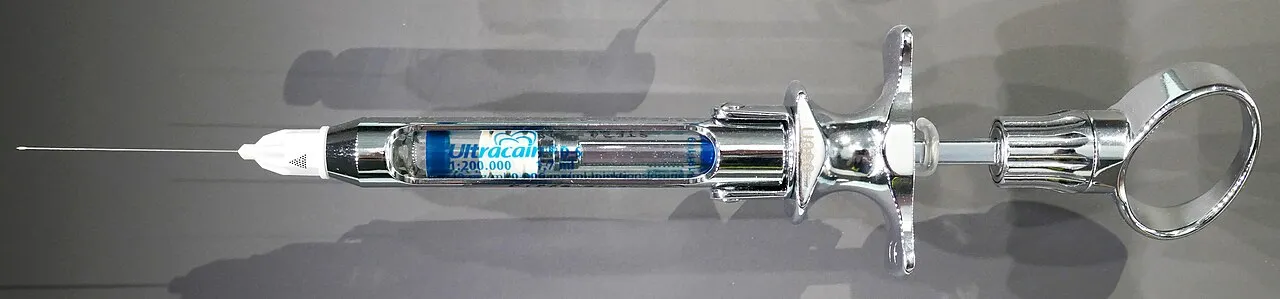
Anesthesia and surgery trays
Numbing setup and simple extractions.
Impression setups
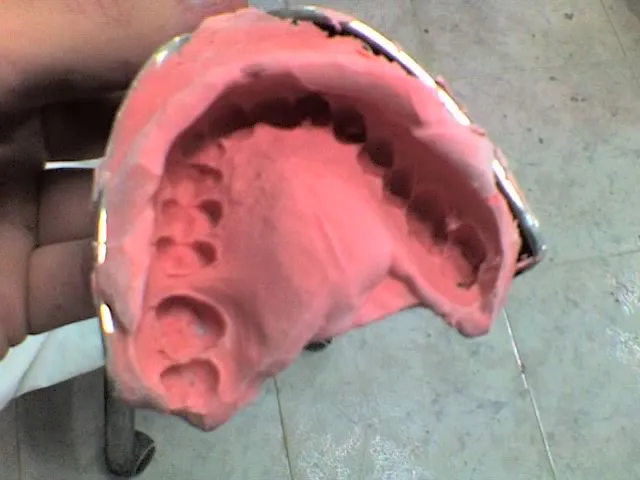
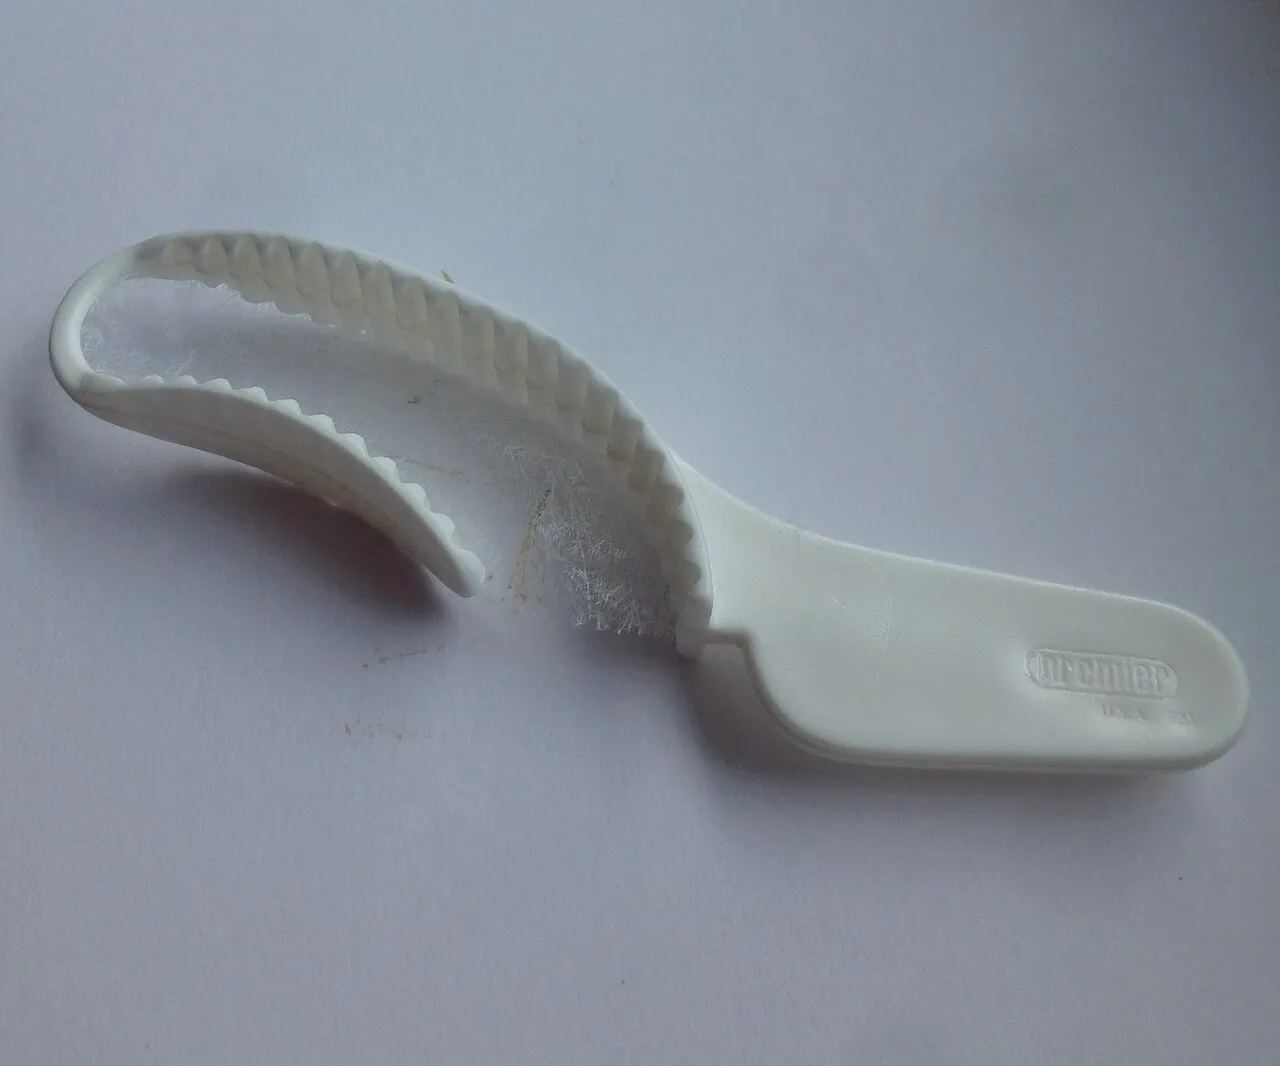
Alginate impressions for models and final impressions for crowns.
Instrument transfer
How to set the tray and pass instruments safely and smoothly.
-
Setting the tray: left to right in order of use
Instruments go on the tray in the order they will be used, usually left to right.
- One-handed (parallel) instrument transfer Pick up the used instrument and hand over the next one with the same hand.
- Two-handed transfer (bulky instruments) For bulky items like forceps and dam clamps, take with one hand and give with the other.
- Passing scissors, cotton pliers and the syringe Special handling for hinged instruments, loaded cotton pliers and the anesthetic syringe.
Four-handed dentistry zones
Where everyone and everything goes, using the clock around the patient's head.
No matches. Try another word, or browse the groups above.