Start here · Sterilization · 32 entries
Sterilization, step by step
Every instrument that goes into a patient's mouth makes the same trip: from the chair to the dirty side of the sterilization area, through cleaning, packaging and the sterilizer, then to clean storage and back to the chair. Each step depends on the one before it. A sterilizer cannot kill germs hidden under dried blood, and a perfect cycle means nothing if the pouch gets wet afterward.
This section walks the cycle in order, then covers how the room is laid out and the chairside habits (barriers, room turnover and the right order for putting on and taking off PPE) that keep patients and you safe. The rules here come from the CDC and OSHA; your office protocol and your sterilizer's manual fill in the details.
The instrument processing cycle
The steps every reusable instrument goes through, in order, plus how you prove the sterilizer worked.
- Know the risk category (critical, semicritical, noncritical) How an item touches the patient decides how it must be processed.
-
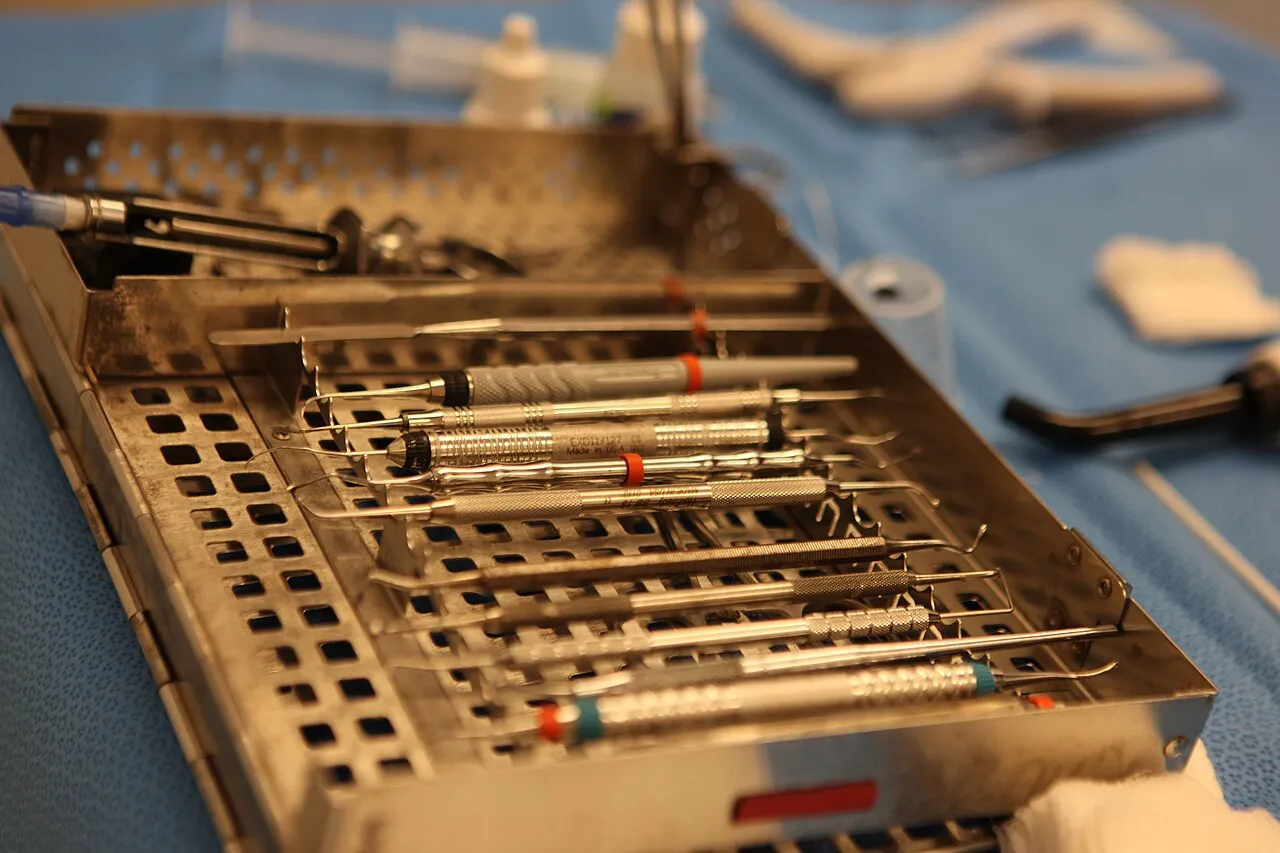 Step 1
Transport used instruments
Carry used instruments to the dirty side in a closed, puncture-resistant container.
Step 1
Transport used instruments
Carry used instruments to the dirty side in a closed, puncture-resistant container.
- Step 2 Presoak if cleaning has to wait Keep debris from drying when instruments cannot be cleaned right away.
-
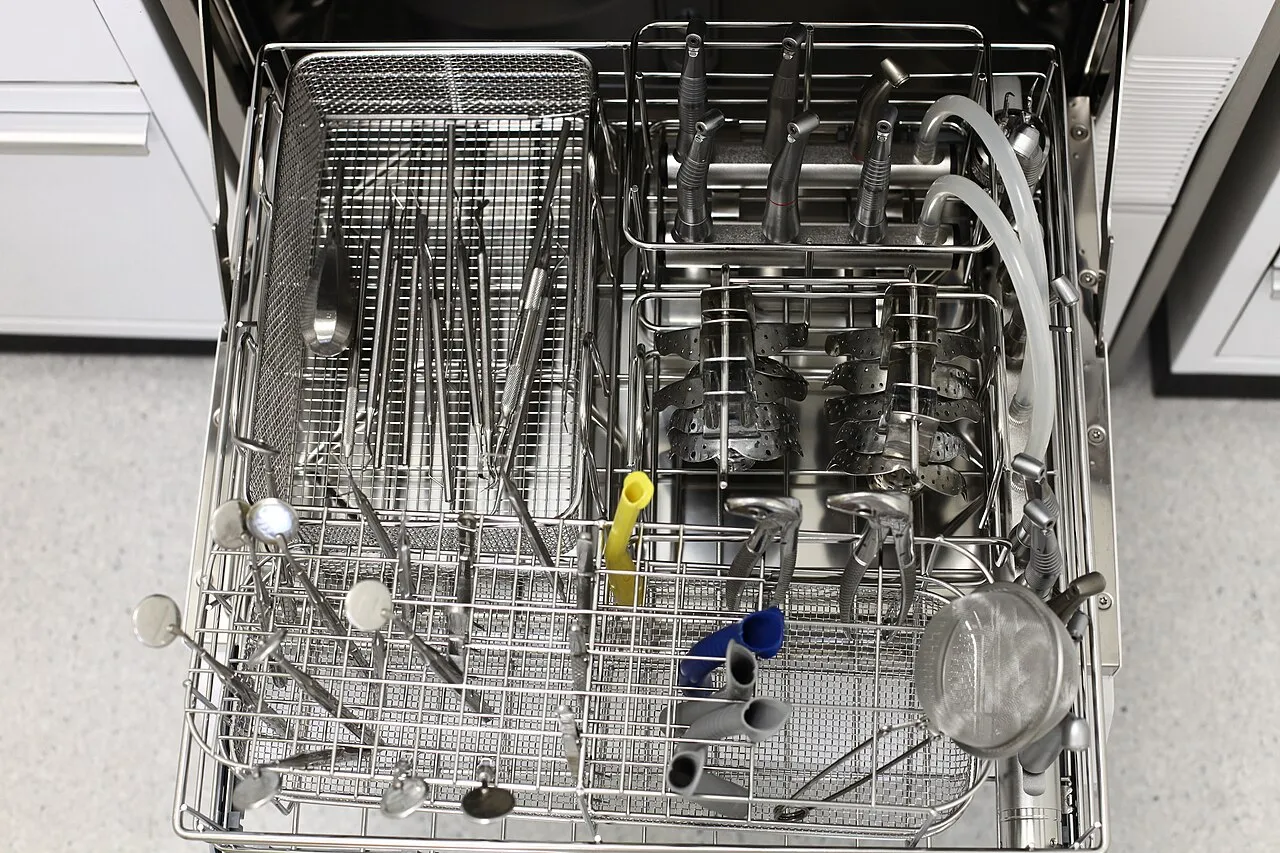 Step 3
Clean: ultrasonic cleaner or washer-disinfector
Remove all blood and debris, preferably with a machine instead of by hand.
Step 3
Clean: ultrasonic cleaner or washer-disinfector
Remove all blood and debris, preferably with a machine instead of by hand.
- Hand scrubbing (last resort) If you must scrub by hand, use a long-handled brush and heavy gloves.
- Step 4 Rinse and dry Rinse off cleaner residue, then dry instruments before packaging.
-
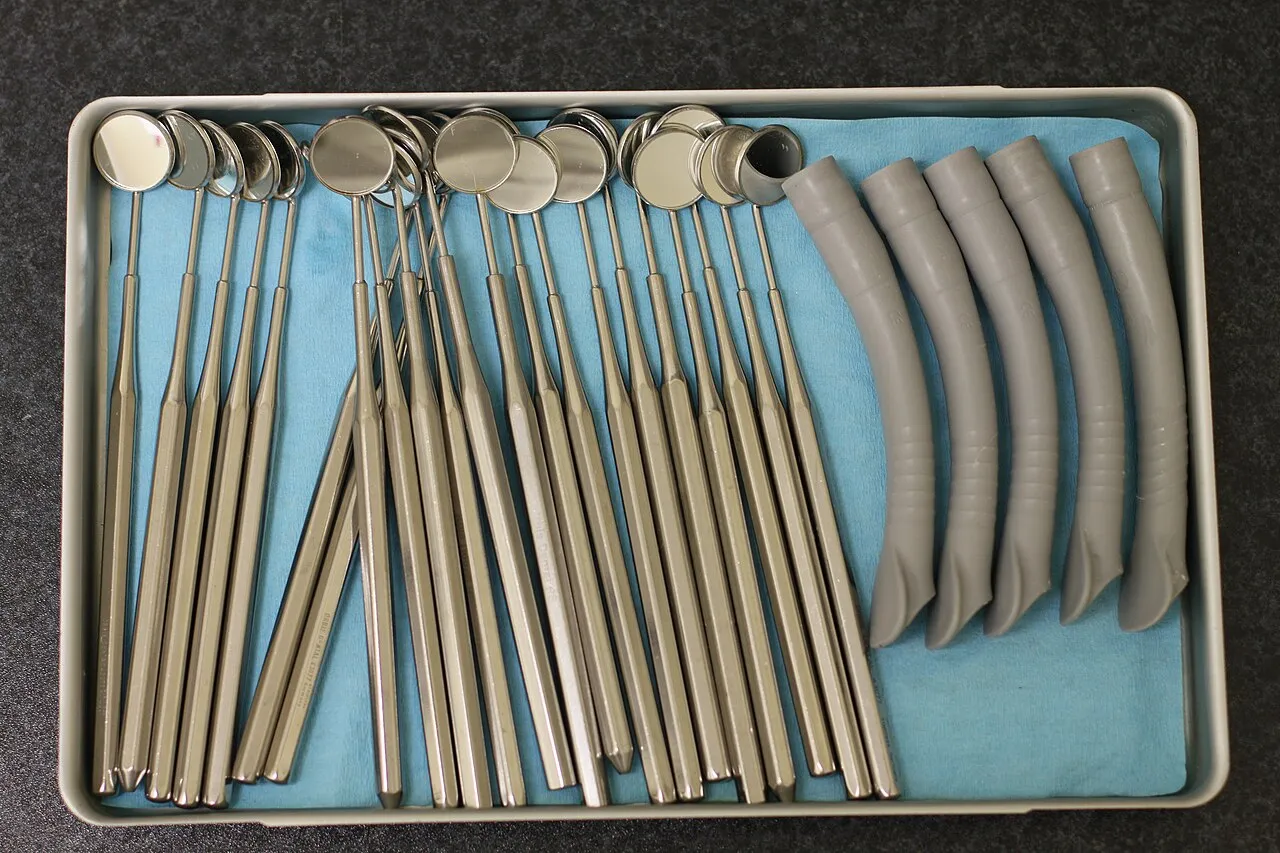 Step 5
Inspect
Check every instrument for leftover debris, damage and rust.
Step 5
Inspect
Check every instrument for leftover debris, damage and rust.
-
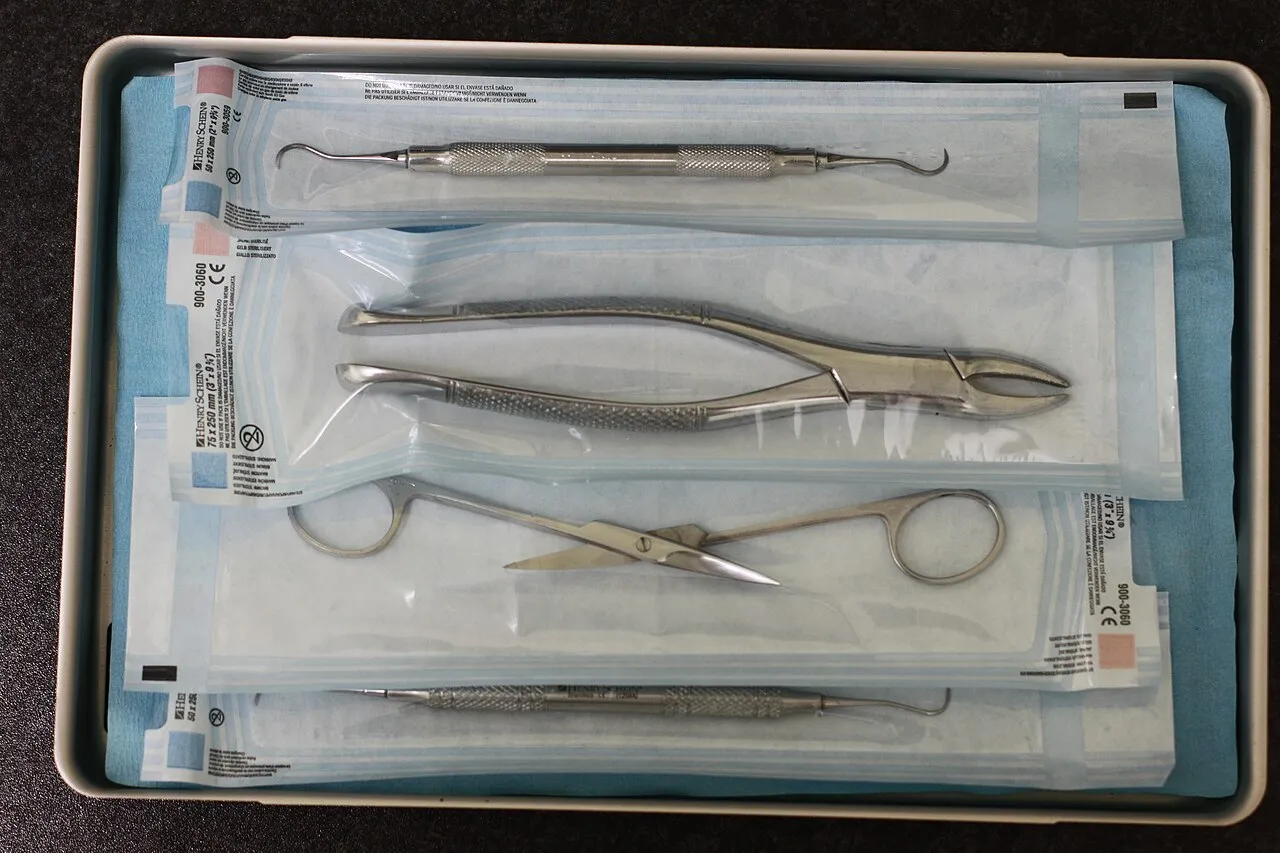 Step 6
Package with an indicator inside
Put instruments in pouches, wraps or wrapped cassettes, with a chemical indicator inside.
Step 6
Package with an indicator inside
Put instruments in pouches, wraps or wrapped cassettes, with a chemical indicator inside.
- Step 7 Label and date Mark each package with the date and which sterilizer it went through.
-
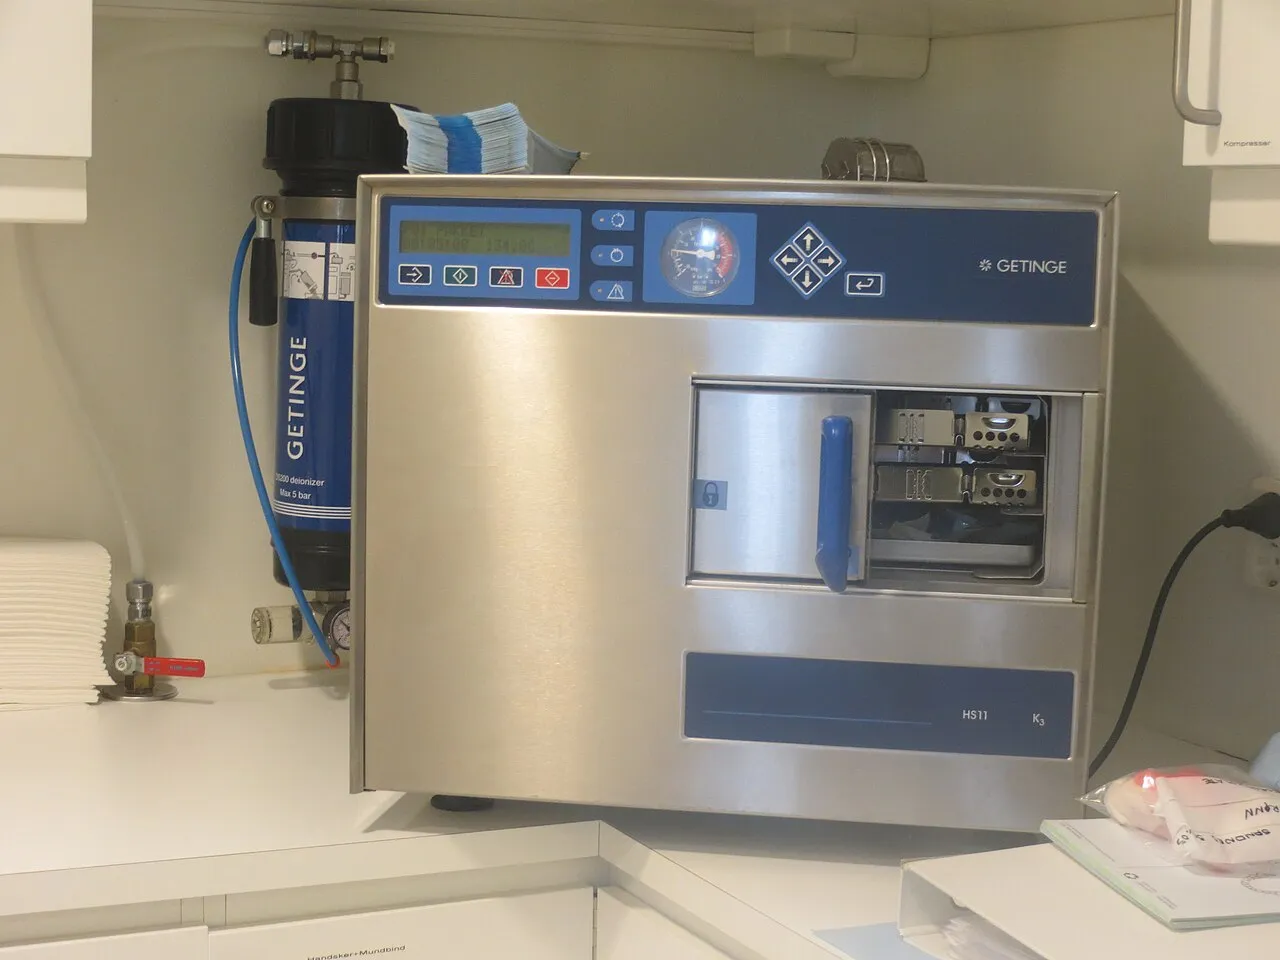 Step 8
Load and sterilize
Load so steam reaches everything, then run the cycle the manufacturer specifies.
Step 8
Load and sterilize
Load so steam reaches everything, then run the cycle the manufacturer specifies.
- Step 9 Let packs cool and dry Do not touch packs until they are cool and dry.
- Step 10 Store and use event-related sterility Keep packs closed, clean and dry; a pack stays sterile unless something damages it.
- Monitoring 1: mechanical (every load) Check the sterilizer's time, temperature and pressure readings for every load.
-
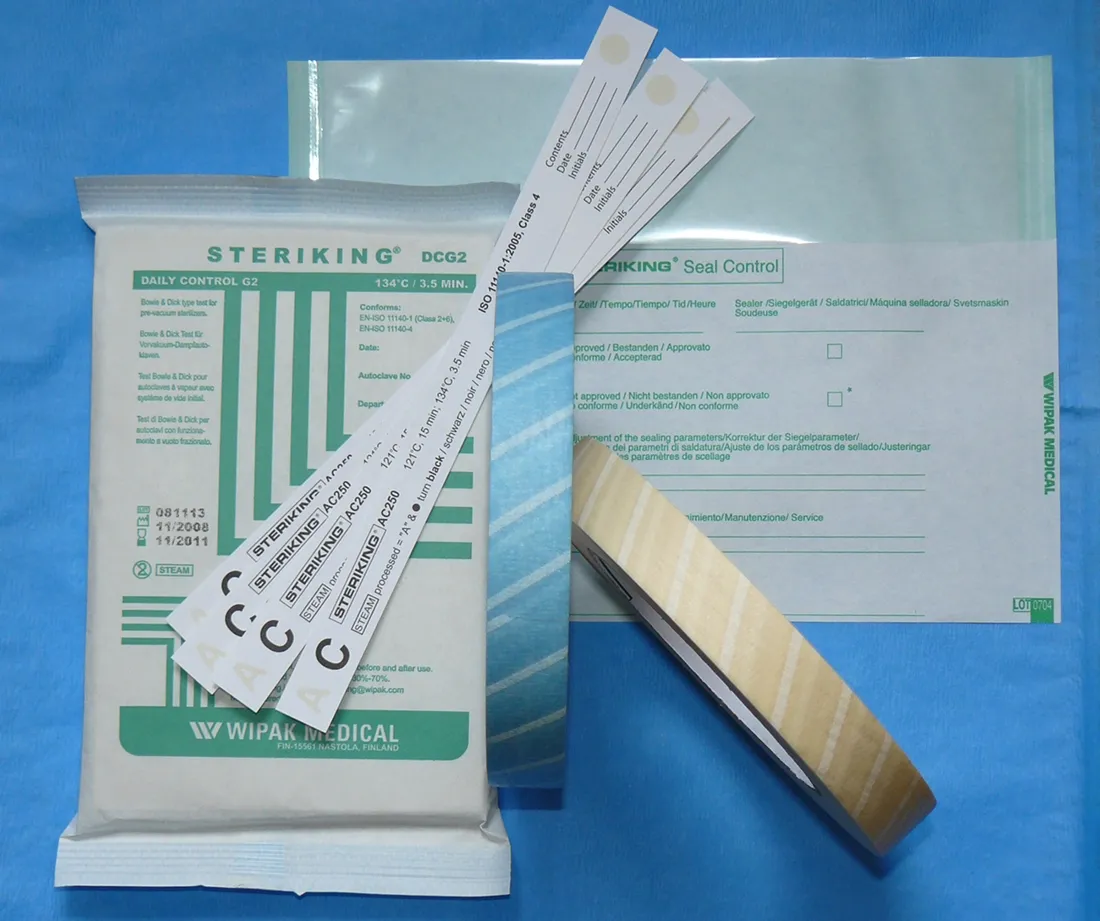 Monitoring 2: chemical indicators (every package)
Color-change strips and tape that show a package saw the right conditions.
Monitoring 2: chemical indicators (every package)
Color-change strips and tape that show a package saw the right conditions.
-
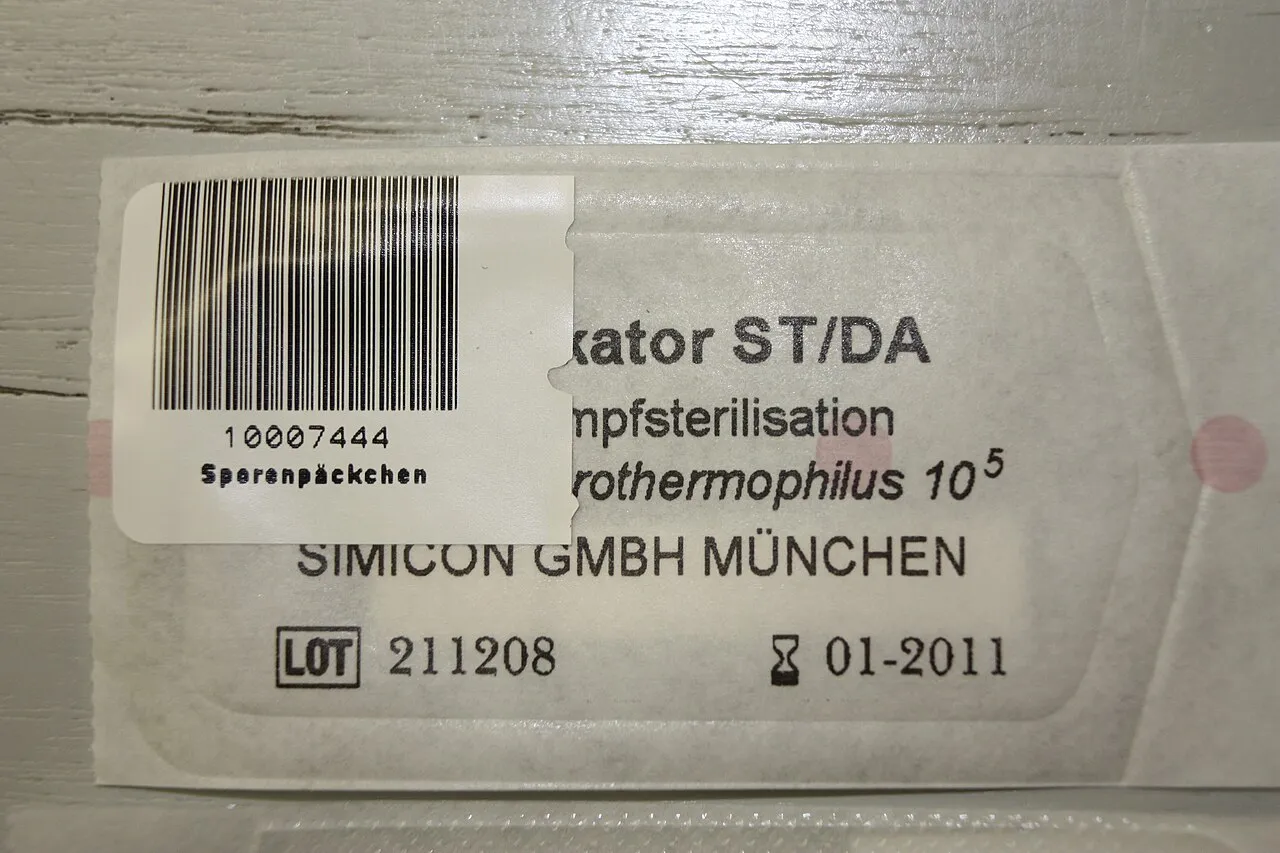 Monitoring 3: spore test (weekly and every implant load)
The only test that shows the sterilizer actually killed living germs.
Monitoring 3: spore test (weekly and every implant load)
The only test that shows the sterilizer actually killed living germs.
- Bowie-Dick (air-removal) test A daily test that checks a prevacuum sterilizer is removing all the air.
- What to do after a failed spore test Take the sterilizer out of service, check procedures, and retest right away.
- Sterilization records Keep written proof of every kind of monitoring.
- Unwrapped (immediate-use) sterilization Sterilizing items without packaging, only for immediate use.
Sterilization area layout
How the room is arranged so dirty and clean never cross.
- One-way flow: dirty to clean Instruments move in one direction, from dirty to clean, and never backward.
- The four zones of the sterilization area Receiving and cleaning, packaging, sterilizing, and storage each have a place.
- PPE in the sterilization area Utility gloves, mask, eye protection and a gown for anything dirty.
Chairside infection control
Barriers, room turnover, PPE order and sharps safety at the chair.
- Standard precautions Treat every patient's blood and body fluids as possibly infectious.
-
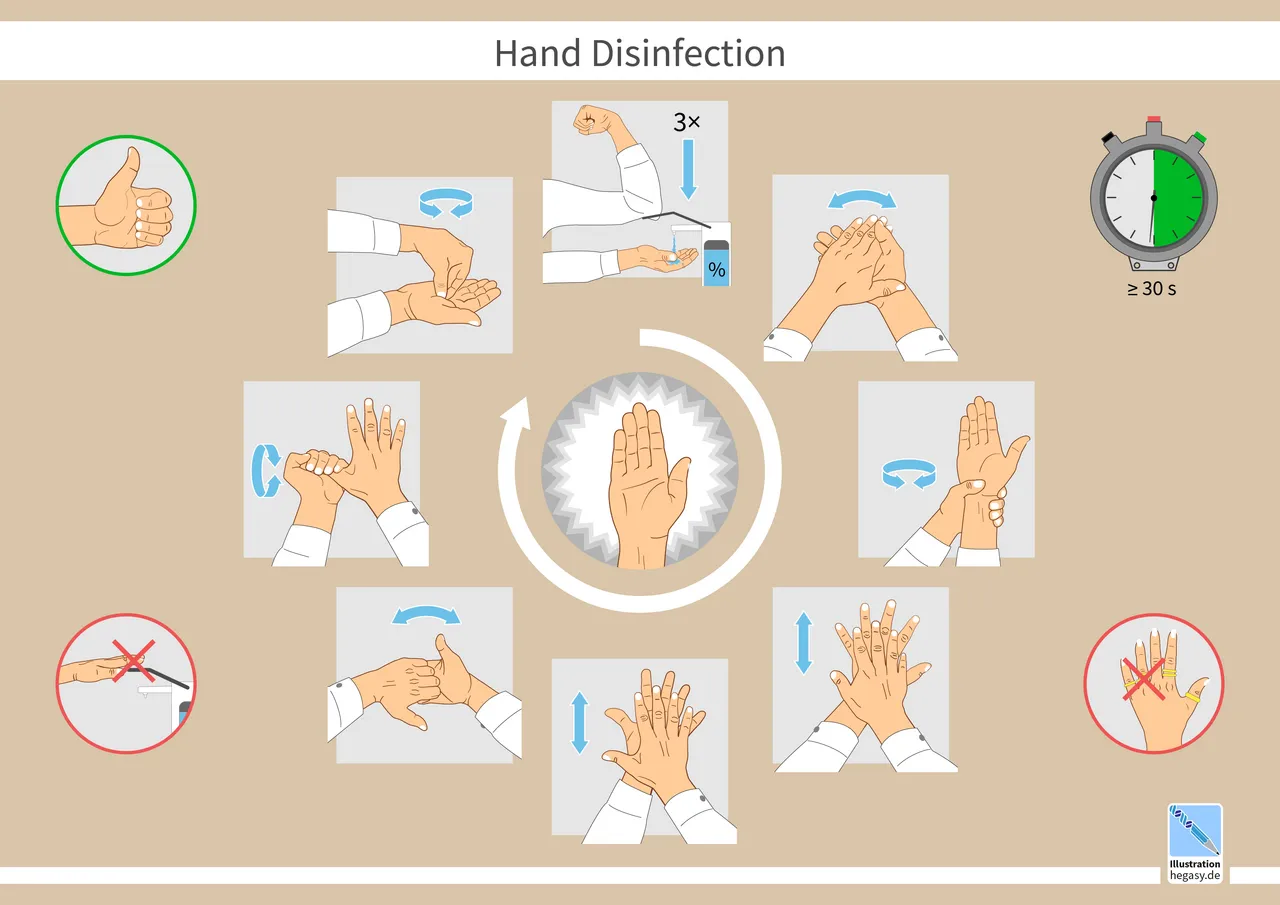 When to clean your hands
Before and after every patient, and before gloving and after ungloving.
When to clean your hands
Before and after every patient, and before gloving and after ungloving.
-
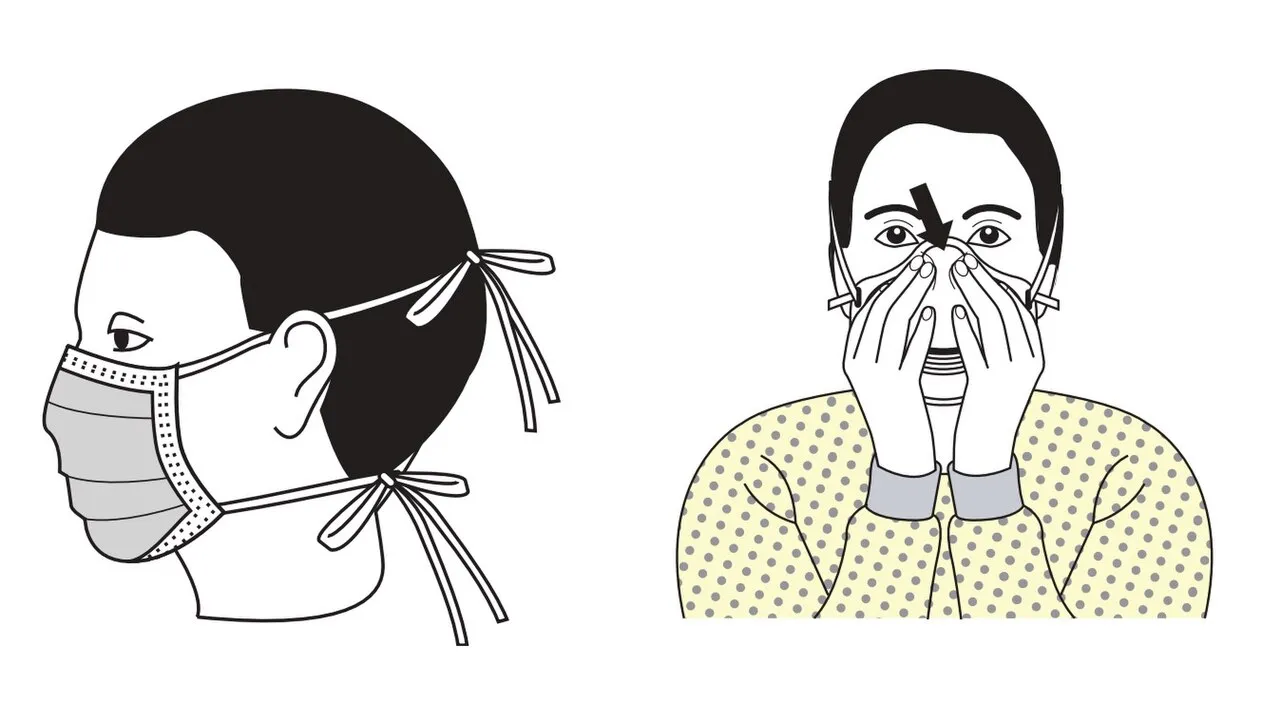 Putting on PPE (donning order)
Gown, then mask, then eye protection, then gloves.
Putting on PPE (donning order)
Gown, then mask, then eye protection, then gloves.
- Taking off PPE (doffing order) Gloves, then eye protection, then gown, then mask, then clean your hands.
-
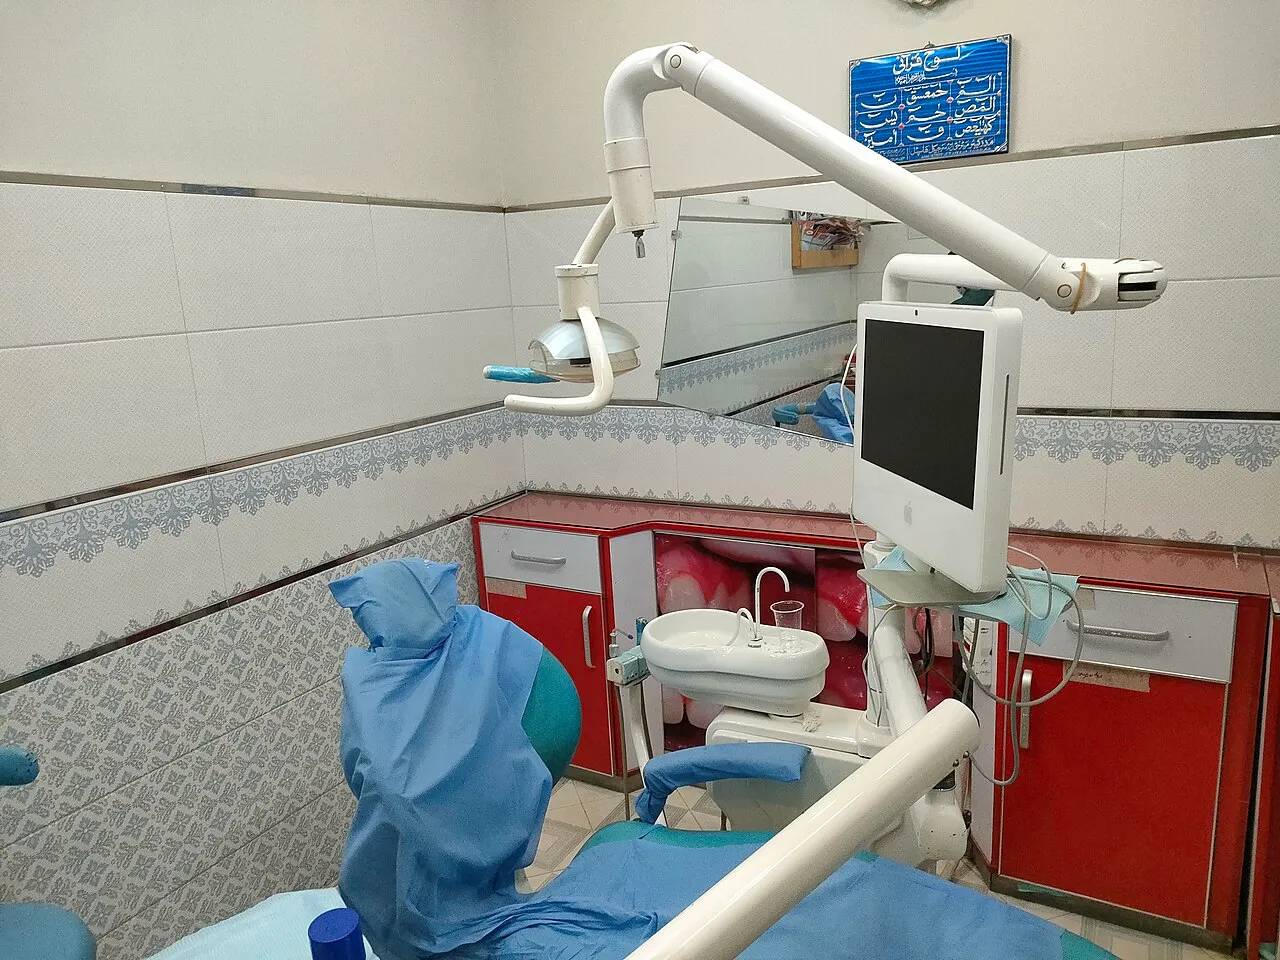 Surface barriers
Plastic covers on things you touch during care, changed after every patient.
Surface barriers
Plastic covers on things you touch during care, changed after every patient.
- Operatory turnover (between patients) The routine for cleaning the room and setting it up for the next patient.
- Flush water and air lines Run handpieces, scaler and syringe for 20 to 30 seconds after each patient.
-
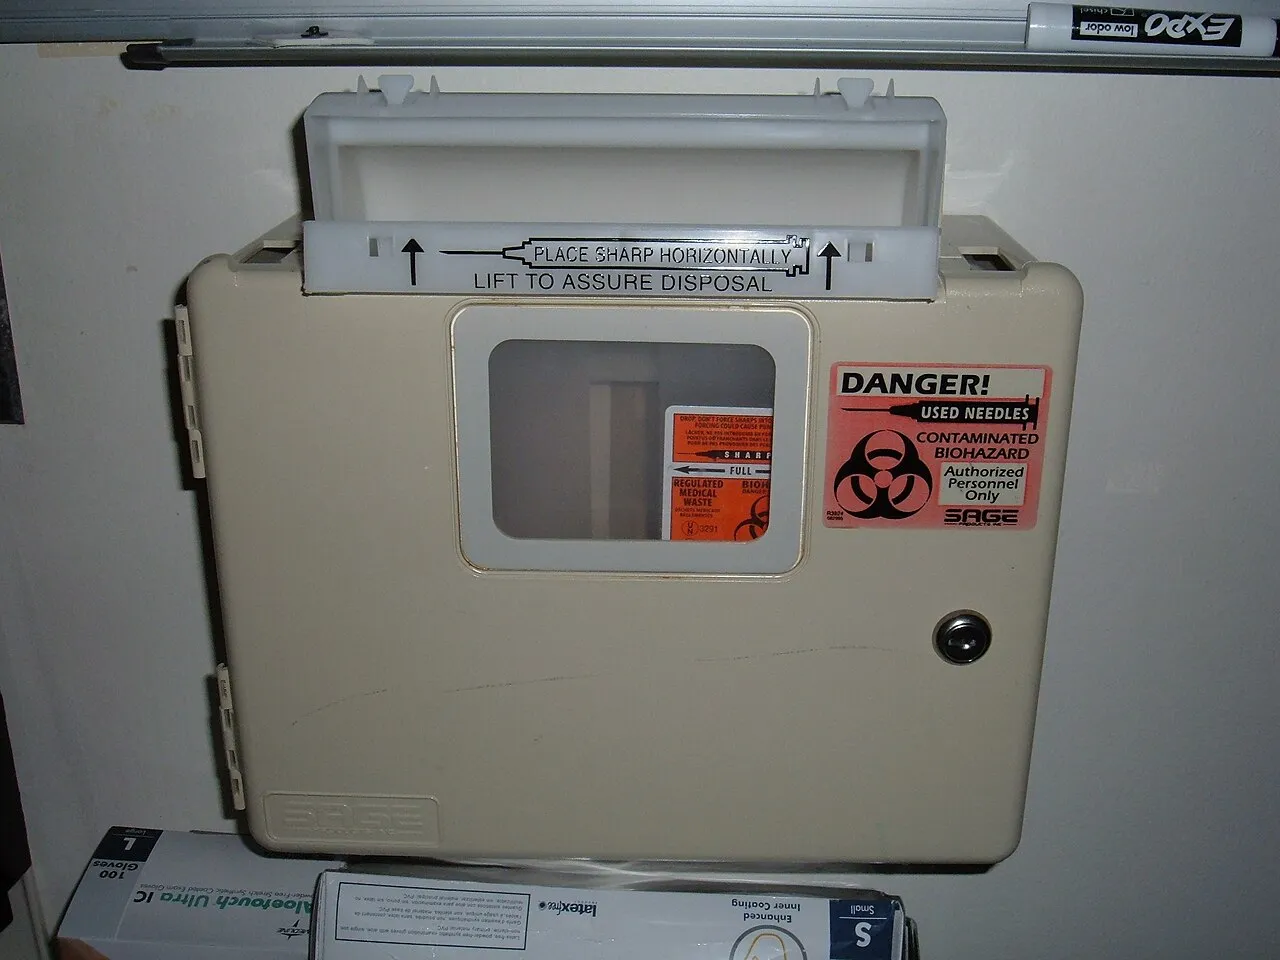 Sharps safety at the chair
Never recap with two hands, and get sharps into the container right away.
Sharps safety at the chair
Never recap with two hands, and get sharps into the container right away.
- After a needlestick or splash Wash or flush right away, then report it immediately.
- Single-use (disposable) items Items made for one patient go in the trash, never back in the drawer.
No matches. Try another word, or browse the groups above.